Introduction
SSH stands for Secure Shell protocol. It is a method for securely sending instructions to another computer over an unsecured network. By ensuring the use of cryptography, it encrypts and secures the connection between devices. In this blog I will be showing you a practical example of how to set up SSH as a server and connect to it using another machine.
Why Use SSH?
It allows you to connect to remote servers that might be located on another part of the globe. Allowing you to perform actions and commands on a much more powerful machine without having to set it up physically. The encryption of SSH ensures that there is no unauthorized access.
Requirements
- A computer running any Linux distribution
- An internet connection
Setting Up an SSH Server
Step 1: Installing SSH
For Arch-based distributions:
sudo pacman -Sy openssh
For Debian/Ubuntu:
sudo apt update
sudo apt install openssh-server
This ensures the installation of:
ssh(The client itself)sshd(The server for SSH [daemon])- Default Configuration Files
On Debian/Ubuntu the SSH client and server are separately packaged.
Step 2: Starting the SSH Service
After installing it, it is necessary to start the service to use it. We start it by performing the following command:
For Arch-based distributions:
sudo systemctl start sshd
For Debian/Ubuntu:
sudo systemctl start ssh
Step 3: Enabling auto-start of SSH at boot
If you need to start the SSH server on boot, it has to be enabled as follows:
sudo systemctl enable sshd
This enables the systemd SSH daemon service so that it automatically starts up on system boot.
Step 4: Verify that SSH is running
Verify that the SSH daemon is running by running:
sudo systemctl status sshd
It should show that the SSH daemon is running as follows:
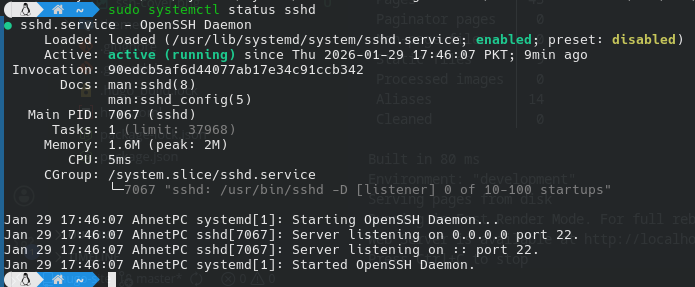
You can see that sshd is running, and it is listening for connections on port 22.
Step 5: Configuring the Firewall
Most Linux distributions come with a firewall installed that ensures the safety of the network. By default it does not allow all ports from outside to connect with your system. Hence, we need to allow it as follows:
- First verify that the firewall is running:
sudo ufw status
The output would be as follows:
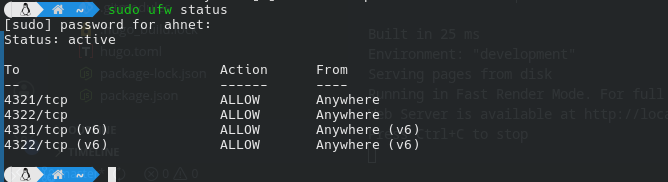
We can see that it shows that the status is Active and that it is allowing a few specific ports via TCP or UDP.
Difference between UDP and TCP
TCP stands for “Transmission Control Protocol,” and it is mostly used in cases where the data must be transmitted with full accuracy. Whereas UDP stands for “User Datagram Protocol” and is used in cases where the transmission speed of the data is prioritized over accuracy.
SSH uses TCP, as the commands being sent to the other machine must be executed as sent by the client. This ensures that the commands arrive correctly and in order.
- Allow sshd inside the firewall:
sudo ufw allow ssh
Then reload the firewall as follows:
sudo ufw reload
The output should be something as follows:
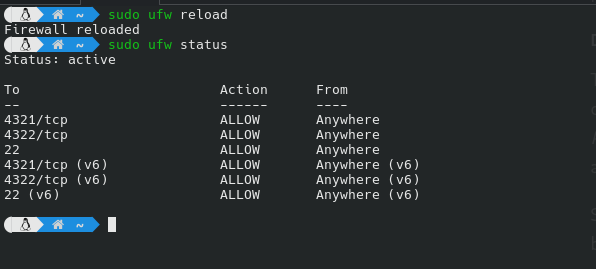
You can now see that port 22 is now allowed for SSH.
Now that everything is configured properly, we can connect to our SSH server using another machine. Let’s see how to set up SSH for client-side use.
Setting Up SSH Client Side
Step 1: Install SSH
For Arch-based distributions:
sudo pacman -Sy openssh
For Debian/Ubuntu-based distributions:
sudo apt update
sudo apt install openssh-client
Step 2: Know the Server’s IP Address
It is important to know the server’s IP address that we are connecting to. It must be known. Typically it may look something like this: 39.152.244.124.
It tells SSH where to connect to.
Step 3: Connect to the Server
Connecting to the server can be done as follows:
ssh username@server-ip
- Here, username specifies the username of the account you want to log in as.
- The server-ip is the server’s IP address that you want to connect to.
After entering the command, it will ask you for the user’s password.
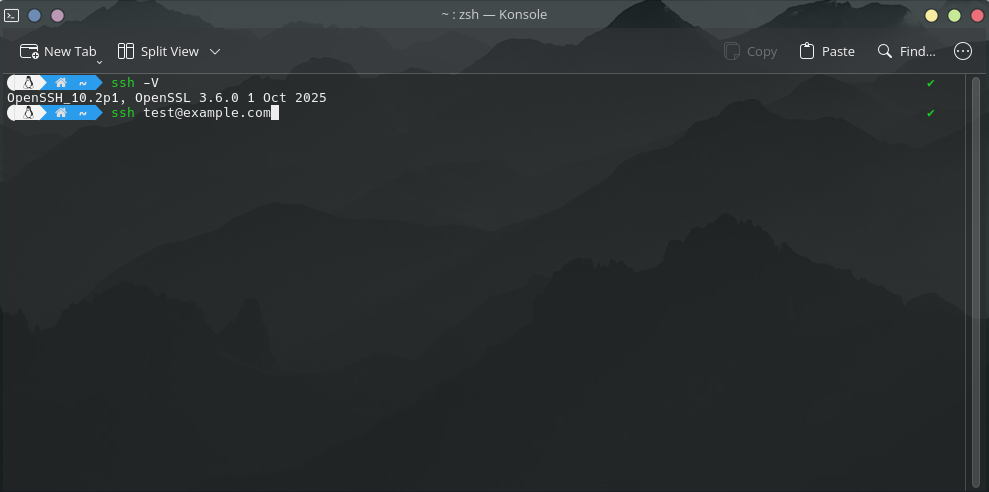
The connection process will look something like this:
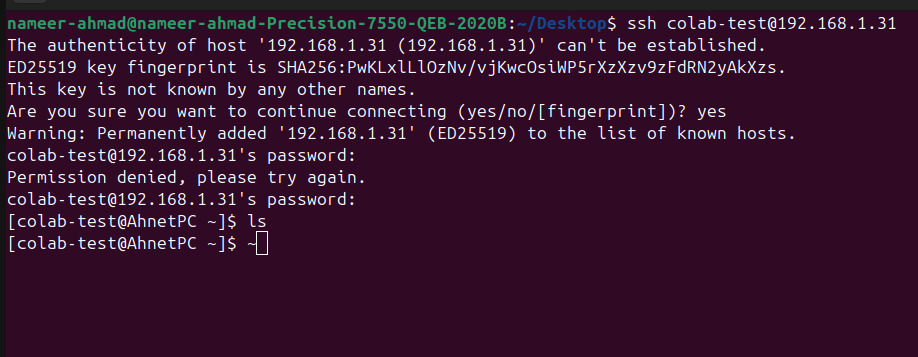
🤔 Notice how it warns you that the server’s authenticity can’t be verified ?
SSH shows this warning the first time you connect to a server so it can save and verify the server’s identity for future connections.
Congratulations! You have now successfully set up an SSH server and connected to it.
Additional Recommended Steps
While the SSH connection is established, there are usually more steps taken to make sure that SSH connection is kept safe from attacks.
Changing the Port
Step 1: Editing the configuration
By default SSH uses the port 22 for connections. It is recommended to change this value to something that is quite unusual and not known.
- First, choose a port number that SSH will use.
- Edit the SSH configuration file by opening the file
/etc/ssh/sshd_configin any text editor. (I’ll be using nano for my use case.)
sudo nano /etc/ssh/sshd_config
You need
sudopermissions for this.
- Find the following line:
#Port 22
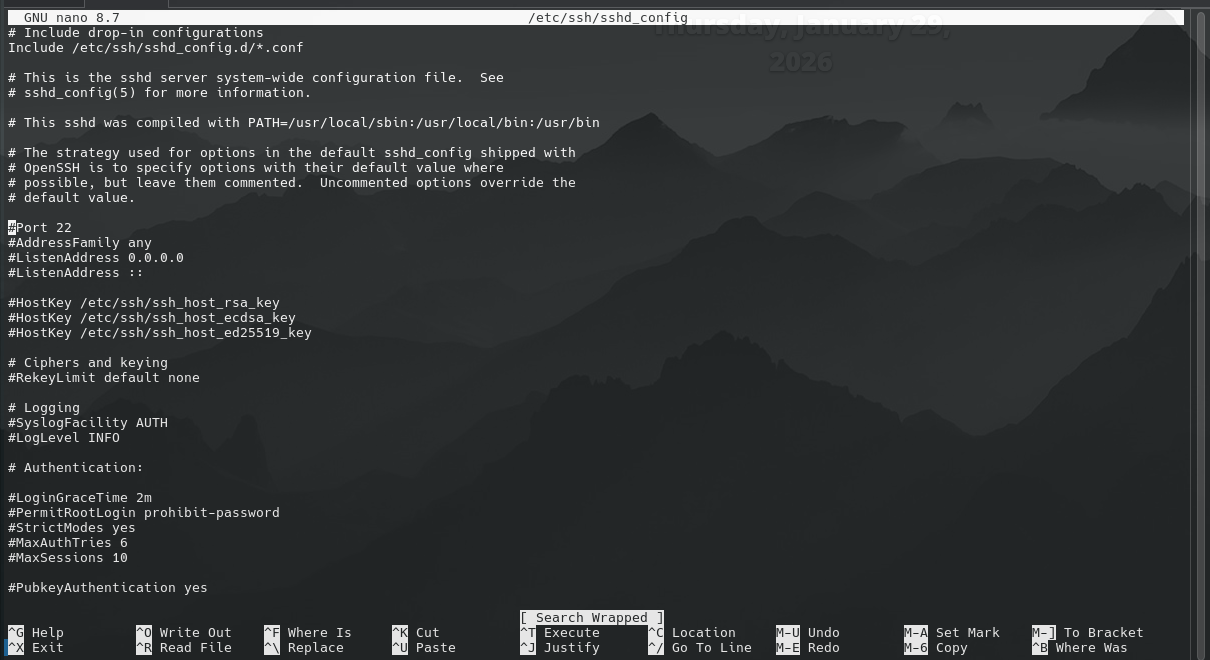
On
nanothe find function is achieved by the key combination:Ctrl+W.
You can see that the default port is set to 22 and that it is commented.
- Uncomment that line by removing the
#and changing the port to your chosen port. For example, in this case,4235
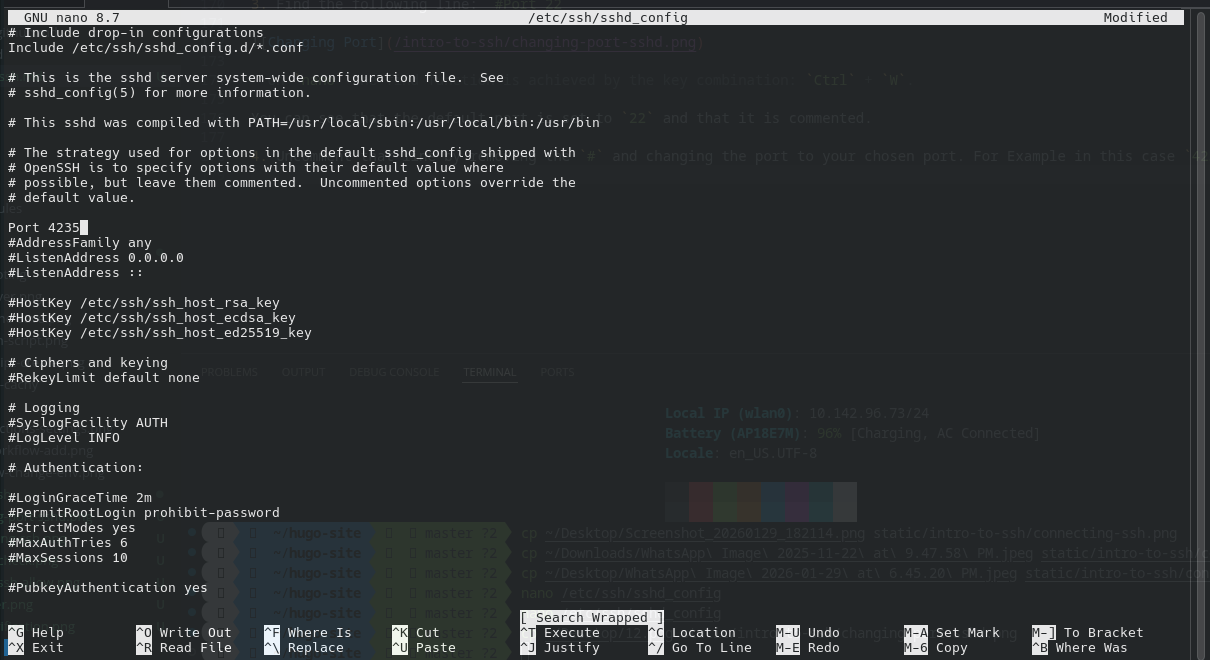
Save your changes and exit.
On Nano use
Ctrl+Xto exit.
Step 2: Restarting the SSH Service
In order for SSH to see our changes, we must restart it.
Arch-based Distributions:
sudo systemctl restart sshd
Ubuntu/Debian-based Distributions:
sudo systemctl restart ssh
Step 3: Allowing the New Port via Firewall
We must allow this new port to pass through the firewall so that devices can connect to this port.
sudo ufw allow 4235/tcp
sudo ufw reload
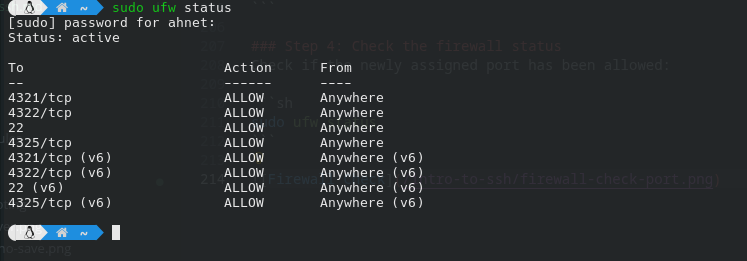
Step 4: Check the firewall status
Check if the newly assigned port has been allowed:
sudo ufw status
Step 5: Connecting to Server with New Port
Now the clients must specify the port when connecting to the server. As follows:
ssh -p 4235 username@server-ip
Here the -p option specifies the port that will be used to connect to the system.
Congratulations! You have now reduced the number of random login attempts that might be made with your server.
Setting up Key Authentication
It is generally recommended to use key authentication with SSH instead of using passwords to log in. It is done via a key pair. This is usually done to avoid brute force attacks.
The pair consists of the following keys:
- Public Key
- Private Key
The public key remains on the server, while the private key is kept by you.
⚠️ The Private key must never be shared under ANY CIRCUMSTANCES.
Step 1: Generating the Key
First, run the following command on your computer:
ssh-keygen
Press enter, as the default path is fine. It is generally recommended to keep a password for the key.
The output will be as follows:
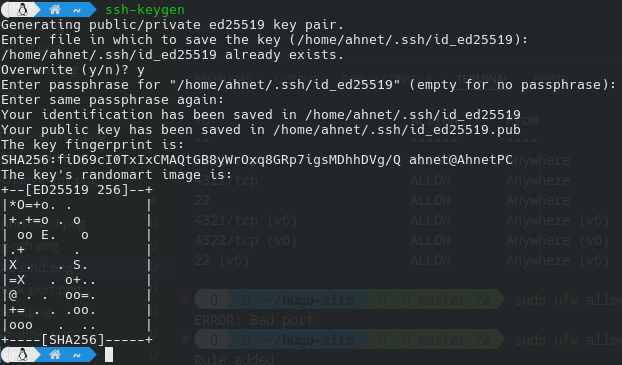
This creates two files. One of them is our public key, while the other is our private key.
~/.ssh/id_ed25519        ← private key
~/.ssh/id_ed25519.pub    ← public key
Step 2: Copying the public key to the server
We must copy the public key to the server so we can authenticate with it with our private key.
ssh-copy-id username@server-ip
This will ask for your password. Enter it so that it properly copies the public key to the server.
Congratulations! You have successfully set up key authentication!
Summary
SSH is a powerful tool used for remotely controlling another computer, no matter where it is. It has many security options to ensure that no attacker gets access to your computer and causes damage.
You can easily set the server up and connect to it using another computer as per your need.