Introduction
Bash is one of the most widely used Unix shells. It is shipped by default on most Linux distributions. It is also a programming language that can interact with the operating system and perform terminal-based tasks. This helps us to automate many actions, which increases our efficiency.
Origins of Bash
Bash is short for “Bourne Again SHell.” It was developed by Brian Fox in 1989 to replace the proprietary Bourne shell used in Unix systems. The first beta version 0.99 was released on 10th January, 1988, and was publicly available to be downloaded by anyone. It was designed to be compatible with the existing Bourne scripts while also adding its own features.
Installing Bash
Bash is already the default shell for many distributions. However, in case it is not installed, it is installed as follows:
For Debian-based distributions:
sudo apt update
sudo apt install bash
For macOS:
brew install bash
For Windows, simply use Git Bash or Windows Subsystem for Linux.
Ensure that bash is installed by running the following command:
bash --version
You should get an output like:
GNU bash, version 5.3.8(1)-release (x86_64-pc-linux-gnu)
Copyright (C) 2025 Free Software Foundation, Inc.
License GPLv3+: GNU GPL version 3 or later <http://gnu.org/licenses/gpl.html>
This is free software; you are free to change and redistribute it.
There is NO WARRANTY, to the extent permitted by law.
Creating Your First Script
Bash files end in the .sh extension.
At the beginning of the file, you will usually find a line as follows:
#!/bin/bash
This is called a shebang. It tells the operating system which interpreter should execute the script when it is opened as a program. This allows you to directly execute your script like this:
./script.sh
without needing to pass it to bash first.
To create your bash file, simply use the touch command:
touch script.sh
touch creates an empty file in the current directory with the name specified.
Verify that the file is created in the current directory by using the ls command:
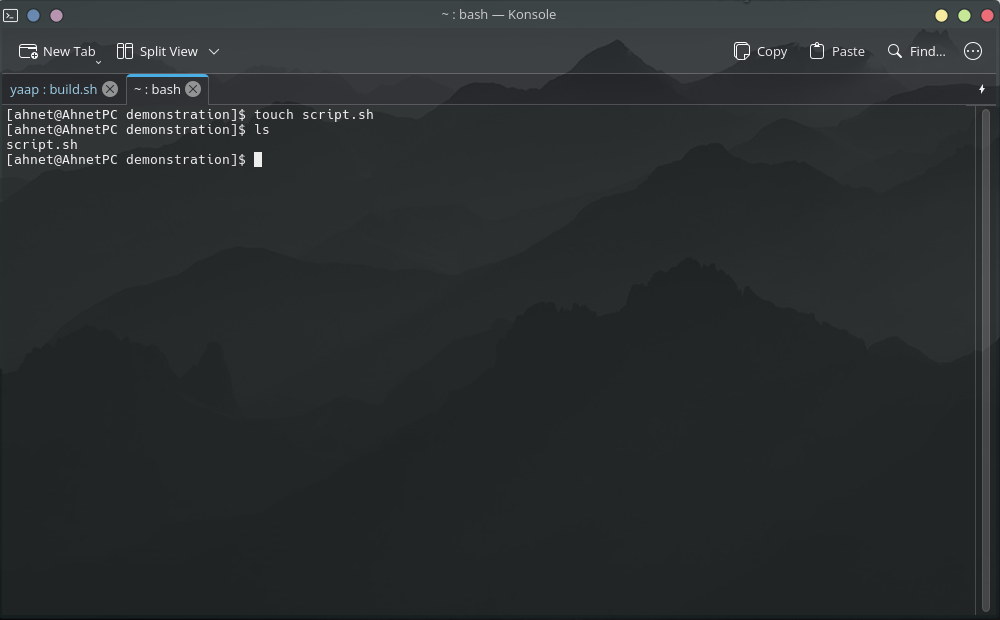
Let’s now edit the file using nano.
You can use an editor of your choice wether its GUI or CLI based. I like using nano as it is simple for beginners.
nano script.sh
Let’s write a simple hello world program using Bash:
#!/bin/bash
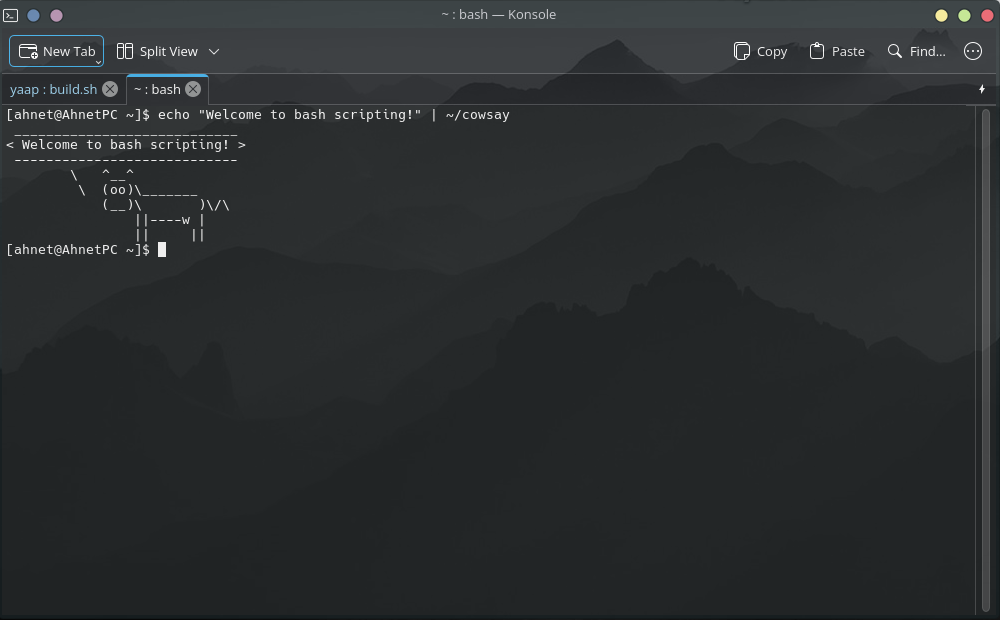
echo "Hello World!"
echo here is used for printing something to the console.
We can also use it to write text to files:
#!/bin/bash

echo "Hello World!" > hello.txt
You will see a new file called hello.txt, which is created in your current directory.
Alternatively, you can also use cat to print text from inside files:
#!/bin/bash

echo "Hello World!" > hello.txt

# the -e parameter allows echo to parse escape sequences
echo "Printing from file"
echo -e "\n"
cat hello.txt
Let’s save our file using nano:
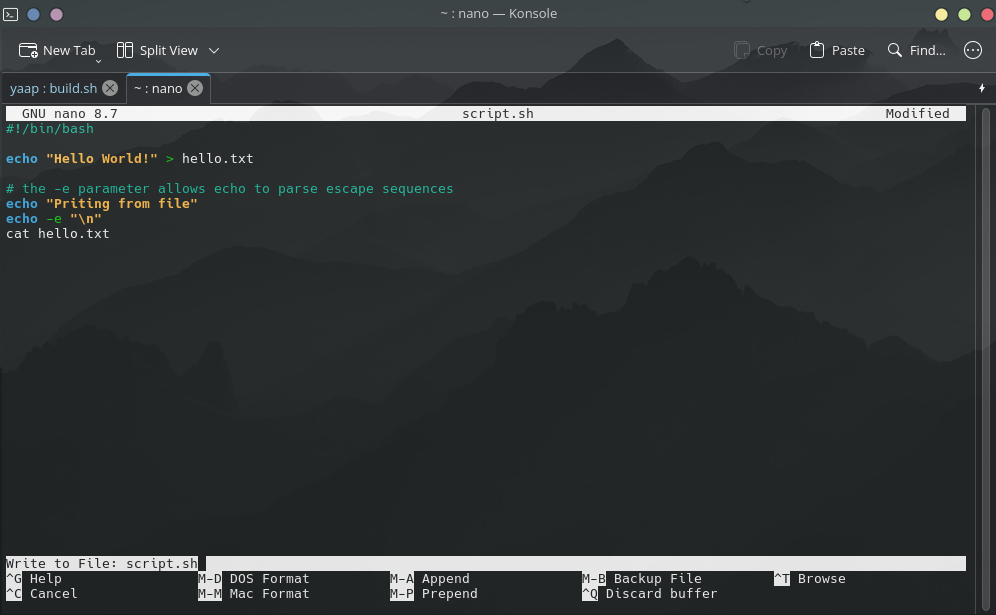
Press Ctrl + X (or Command + X on macOS) to save your changes and then press y and enter.
Congratulations, you have made your very own first script!
Setting Permissions
Before running your script, Linux requires you to give execution permissions to your script, and it is done via chmod as follows:
chmod +x script.sh
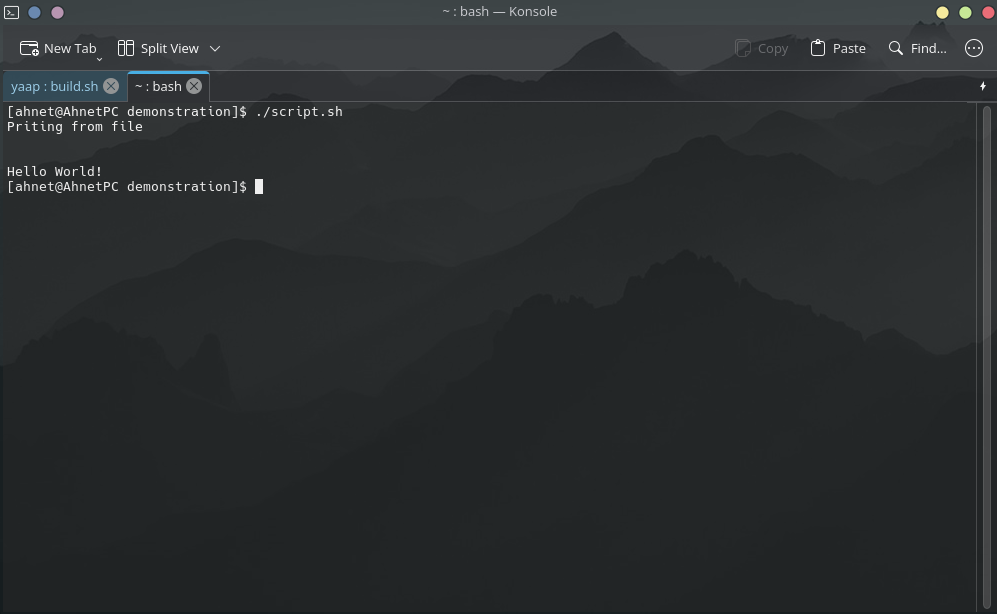
Executing
Execute your script by running it as follows:
./script.sh
You should see an output like:
Variables
Bash allows you to use variables just like any other programming language!
It supports the following data types:
- Strings
- Numbers
- Arrays
- Associative Arrays
Bash does not need you to specify the data type for variables.
Declaring Variables
Declaring Strings
Strings are a collection of characters.
name="ahnet"
greeting="Hello!"
They can be accessed and printed later as follows:
name="ahnet"
greeting="Hello!"

echo "$greeting"
echo "$name"
The output should be:
Hello!
ahnet
Furthermore, strings can also be joined together with the help of ``.
name="ahnet"
greeting="Hello!"

echo "$greeting $name."
The output should be: Hello! ahnet.
Declaring Numbers
Numbers are simply displayed and accessed using:
number=20

echo $number

# Or use it in a sentence
echo "My number is: $number"
Declaring Arrays
Arrays can hold multiple values of any data type.
fruits=("Apple" "Mango" "Orange")
The elements in arrays can be accessed using indexes.
For Example:
fruits=("Apple" "Mango" "Orange")

echo ${fruits[0]}
The output should be Apple.
Note: indexes in arrays always start from 0
Associative Arrays
These are the same as arrays. However, they allow you to assign the values to some keys and access them using the same keys.
For Example:
# Declaring Associative Array
declare -A colors

# Assigning values using keys
colors[apple]="red"
colors[mango]="yellow"
colors[orange]="orange"

# Printing the value using key
echo ${colors[apple]}
The output should be: red
Basic Bash Operators
Logical Operators
Like other programming languages, Bash allows you to perform logical operations via the use of logical operators:
&&AND - Only true if both parameters are true||OR - True if either of the parameters is true!NOT - Inverses the parameter (1 => 0, 0 => 1)
For Example:
name="ahnet"

if [[ $name = "ahnet" && $attempts -lt 3 ]]; then
    echo "Access granted."
fi
Numeric Comparison Operators
Bash has various operators for comparing:
-eqEqual to-neNot equal to-gtGreater than-geGreater than or equal to-ltLesser than-leLess than or equal to
They can be used to compare 2 numbers.
For Example:
# Checking greater than
num=15

if [ $num -gt 10 ]; then
    echo "Number is greater than 10"
fi
The output should be: Number is greater than 10
# Checking lesser than
num=15

if [ $num -lt 10 ]; then
    echo "Number is lesser than 10"
fi
There will be no output.
Arithmetic Operators
These are used to perform simple mathematical calculations.
For Example:
num1=15
num2=20

sum=$((num1 + num2))

echo "sum of $num1 and $num2 is $sum"
String Comparison Operators
We compare strings with the help of the following operators:
=Equal to!=Not equal to<Less than’’ (uses ASCII codes)>Greater than’’ (uses ASCII codes)
For Example:
name="ahnet"

if [ $name = "ahnet" ]; then
    echo "Matched"
fi
Conditional Statements
Like other programming languages, Bash allows you to perform actions based on certain conditions using if, else, elif.
The conditional statements in Bash look at the exit code of the command in its body.
Using if Statements
if statements execute the code in their body if the condition is true:
num=10

if [ $num -gt 5 ]; then
    echo "True"
fi
The output will be: True
fi indicates the end of the if statement.
Using if-else Statements
If the ``if’’ statement is not true, the else block can be executed.
num=10

if [ $num -gt 5 ]; then
    echo "True"
else
    echo "False"
fi
The output will be: False
Using elif Statements
The elif statements allow you to check multiple solutions in sequence. If the previous statement is false, the next one is checked, and so on until the end.
elif stands for elseif.
For Example:
num=10

if [ $num -gt 5 ]; then
    echo "True"
elif [ $num -eq 10 ]; then
    echo "Number is 10"
else
    echo "False"
fi
The output will be: Number is 10
The else block will not be executed since the else-if condition was true.
Loops in Bash
Loops are used to go over a list of items or a range of numbers. They are useful for repeating the number of lines of code for repetitive iterations.
For Loops
They are used when the number of iterations to be done is known.
For Example:
for i in {1..5}; do
    echo "$i"
done
This snippet will print numbers from 1 till 5.
While Loops
They are used to perform actions as long as a certain condition is true.
For Example:
iteration=5

while [ $iteration -gt 0 ]; do
    echo "$iteration"
    ((iteration--))
done
Until Loops
They are used to perform actions until a certain condition becomes true.
For Example:
iteration=5

until [ $iteration -eq 0 ]; do
    echo "$iteration"
    ((iteration--))
done
breakandcontinuecan be used inside these loop to either stop the loop or skip that current iteration and the code below
Functions in Bash
Functions can be considered as a machine that takes an input, processes the input, and returns an output.
For Example:
print_hello(){
    echo "Hello!"
}
Then the function is called by:
print_hello
The output will be: Hello!
Passing Parameters to Functions
Let’s make a simple addition function:
function sum() {
    echo $(($1 + $2))
}

sum 6 7
The output will be: 13
Returning Values
We might want to return a value back to the part where the function was called.
For Example:
function sum() {
    echo $(($1 + $2))
}

result=$(sum 6 7)
The output of echo inside the function is copied to result.
The output will be: 13
Scheduling in Bash
We use something called crontab.
The cron system is a time-based job scheduler in Unix-based operating systems.
Installing Crontab
For some distributions, Crontab may not be installed by default. To check, try running the crontab command.
For example, on CachyOS, I did not have crontab pre-installed.
So I installed it as follows (this is the same for any other Arch-based distribution):
sudo pacman -Sy cronie
Using Crontab
Crontab allows you to define tasks to be scheduled.
The option -e allows you to add more rules.
The format of defining rules is as follows:
Minute | Hour | Day of Month | Month | Day of Week (0-7)
For Example:
10 3 * * * /home/ahnet/script.sh
*here is representing all of the values. For Example, all days of the month, all months, and every day of the week.
This script will now run on 3:10AM on every day of the week, month, and year.
My Personal Script
You might have noticed that in some screenshots on this blog, I had a previous tab running with the name yaap: build.sh.
I would like to share and explain what the script was doing.
It can be found on my GitHub: here.
You might have noticed that I’ve used || exit 1 after each command. It is to stop the bash script and exit with an error code in case the command was unsuccessful.
It is basically a helper script that helps me to set flags and generate output builds for me after my custom ROM has successfully built.
This script is specifically made for YAAP and may break on other ROMs.
If you do not know what I’m talking about, don’t worry!
I will be writing a blog in the future covering the fundamentals of custom ROMs on Android phones!
Stay tuned!
Summary
Congratulations! 🎉 You have now successfully covered the fundamentals of Bash scripting, and now you can create your own functional Bash scripts and automate various jobs with it!